
Working in Three Dimensions

One of my goals for 2019 is to make more ceramic pieces. I don't pretend to have any groundbreaking skills in the medium, but I do love manipulating the clay and seeing the final glaze-fired piece. Below is a set of photos taken at each stage of making a recent piece inspired by my paintings and prints from the last few years.

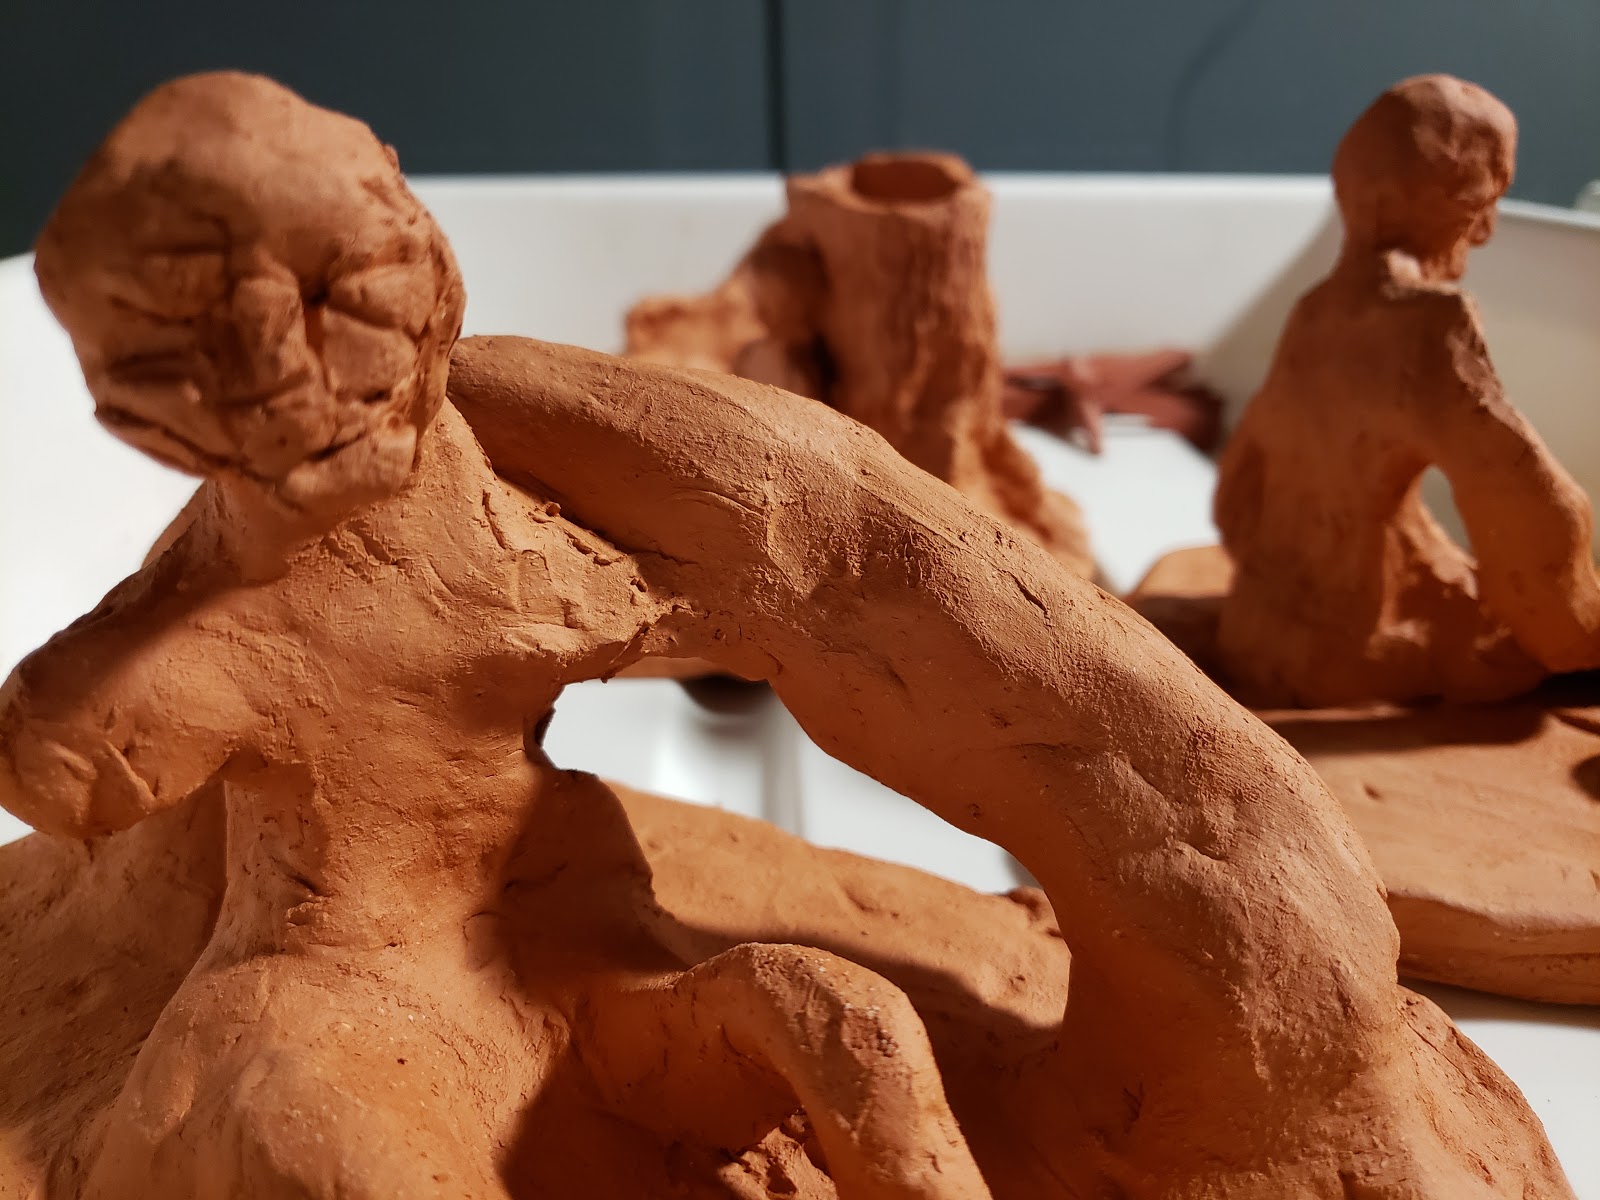
This is the terracotta clay piece just after I made it:
Then after it was bisque fired:
And finally after it was glaze fired:
Not sure about the colour, but I do love the high gloss effect of fired ceramic. For this one, I brushed on two layers of a reddish-orange glaze, two layers of black on the arch, and two drip layers of blue on the figure and base.

Popular posts from this blog

Restoring my Printing Press

I've just finished restoring and assembling my large etching press -- a six week process involving lots of rust removal, scrubbing with steel wool, and repainting. Here is a photo of the same kind of press from the Chicago Printmakers Collaborative: And here is a short YouTube video of me testing the press, making sure the motor still works after nearly seven years of lying in storage:

Brancusi in Plastic

Artist Mary Ellen Croteau is showing these columns made from recycled plastic cartons and lids in the window of the Columbia College bookstore on Michigan Avenue. They are a playful homage to Brancusi's "Endless Columns", with a serious environmental message for our times: Image copyright Inhabitat.com and Mary Ellen Croteau Mary Ellen also runs a wonderful experimental art gallery in a window space in west Chicago, called Art on Armitage . I will be exhibiting a mixed media piece there during August 2012.

How to etch a linoleum block

Linoleum as a material for printmaking has been used for nearly a hundred years now. Normally, you cut an image out using special gouges similar to woodcut tools, cutting away the lino around the image you want to print. This is called relief printmaking, because if you look at the block from the side, the material that remains stands up in relief from the backing material. You then roll ink with a brayer over the surface of the block, place paper over it, and either print by hand or run it through a press. You can do complex things this way (for example, reduction linocuts), but the beauty of the process is that it is quick, simple, and direct. Incised lino block, from me.redith.com Etched lino block, from Steve Edwards A few years ago, I saw some prints that were classified as coming from etched linoleum blocks, and I loved the textures I saw in them. In the last few months, I've been trying to use this technique in my own studio, learning about it as one does these d